Selecting the Right Built In Microwave
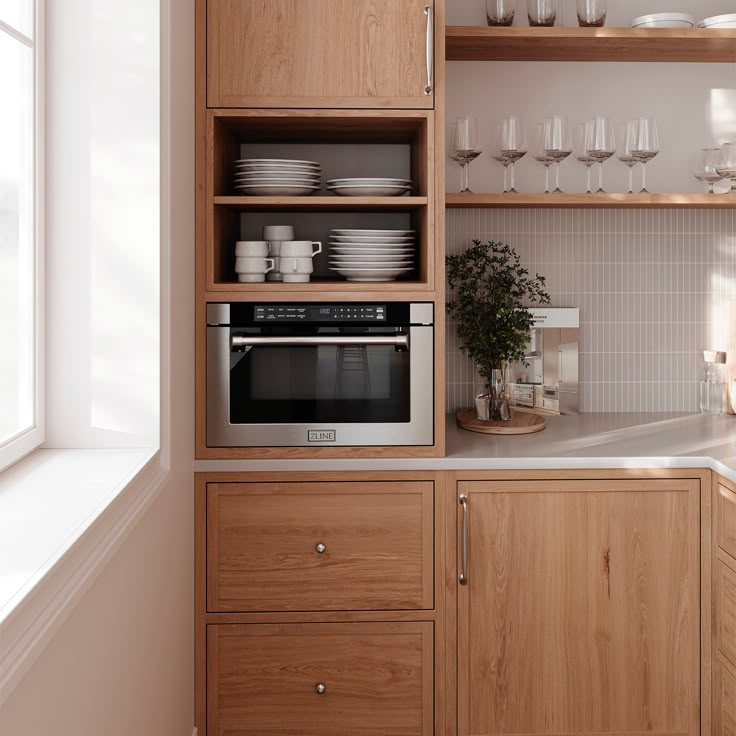
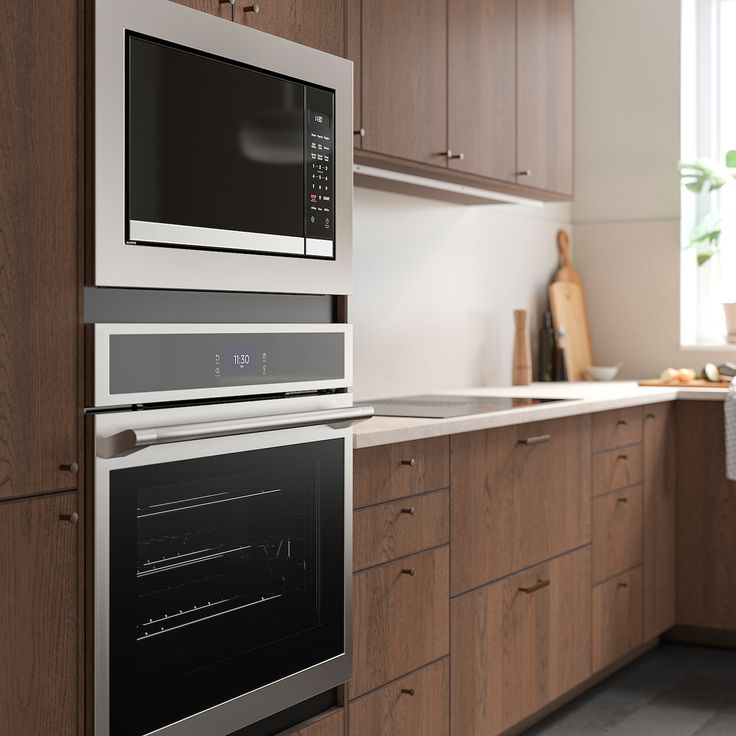
Choosing the right built in microwave involves several key factors to ensure you make the best choice for your kitchen. First, consider the size that fits your available space and cooking needs. Look for a microwave that aligns with your cabinet’s dimensions to avoid installation issues. Additionally, the capacity of the microwave should match your household’s usage pattern. If you often cook large meals or entertain guests, opt for a larger model that can handle more substantial food items.
Next, think about the microwave’s power output. Generally, more watts result in faster cooking times, making meal prep more efficient. However, higher power models may require a more robust electrical system in your kitchen. Before making a decision, check your kitchen’s electrical capacity to ensure compatibility. This consideration is crucial because installing a high-wattage microwave without sufficient electrical infrastructure can lead to operational problems.
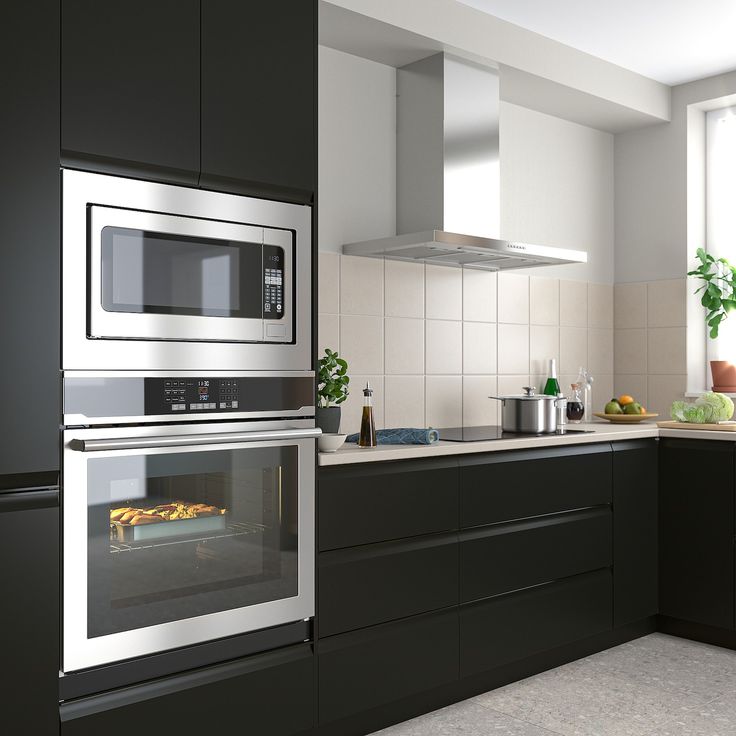
Also, focus on features that are important to you, such as convection cooking or sensor cooking options. Make a list of desired features before you start shopping to ensure that your choice meets your specific needs. Evaluate the design and finish of the microwave as well; your built-in model should complement the overall style of your kitchen. Stainless steel is a popular choice for its sleek look and durability, but other finishes are available to suit different aesthetics. Additionally, pay attention to the brands and reviews. Prioritize reputable brands known for reliability, and read user reviews for genuine insights into performance and longevity. Finally, it’s important to set a budget upfront, as built-in microwaves can vary significantly in price. Knowing your spending limits will guide your search, allowing you to invest wisely in a quality model that could save on repairs in the long run.
Preparing for Installation
Before installing your built in microwave, proper preparation is crucial to ensure a smooth and successful process. Follow these steps to set yourself up for success while minimizing potential issues.
Gather Your Tools
Start by collecting all the necessary tools for the installation. Typically, you will need a tape measure to ensure accurate measurements, a drill for making pilot holes, a screwdriver for securing fasteners, and a level to ensure the microwave is installed evenly. Having all your tools handy before you begin will save time and make the installation more efficient.
Read the Manual
Every built-in microwave comes with a user manual that contains important installation instructions and specific requirements for your model. It’s essential to read this manual thoroughly to understand any unique aspects of your microwave. This information may include recommended mounting techniques, electrical specifications, and clearance requirements. Familiarizing yourself with the manual will help you avoid mistakes and ensure a proper installation.
Turn off the Power
Safety should always be your top priority. Before starting the installation process, turn off the electrical power at the circuit breaker. This step prevents any risk of electric shock while you work on the microwave’s electrical connections. It’s important to confirm that the power is off by testing the outlet with a voltage tester, guaranteeing a safe installation environment.
Clear the Area
To create a conducive workspace, remove any objects from the installation area around your microwave cabinet. Clearing the space not only provides ample room for you to maneuver but also keeps the area safe from tripping hazards. If necessary, invite a helper to ensure that the microwave can be lifted and positioned without obstacles.
Protect Your Countertops
During the installation, take precautions to protect your countertops and other surfaces from potential damage. Use a soft cover, such as a cloth or a blanket, to shield the surfaces while working. This step helps prevent scratches, dents, or other types of damage that may occur when moving and securing the microwave.
By diligently following these preparation steps, you’ll create a safe and effective environment for installing your built-in microwave. Always prioritize safety and take your time to avoid any errors. A well-prepared installation process will lead to a seamless setup and enjoyment of your new kitchen appliance.
Measuring Your Space Accurately
Accurate measurement is key when installing a built in microwave. Here is how to measure your space correctly:
- Check the Product Dimensions: Note the height, width, and depth of your new microwave from the manufacturer’s specifications.
- Measure the Cabinet Space: Using a tape measure, carefully measure the interior dimensions of your cabinet where the microwave will fit. Include height, width, and depth.
- Consider the Trim Kit: If your microwave comes with a trim kit, ensure you account for its space requirements as well.
- Allow for Ventilation: Microwaves need space for air circulation. Check the owner’s manual for the recommended clearance around the unit.
- Keep It Level: Use a level to make sure the surface where you’ll place the microwave is even. An unlevel surface can cause installation problems.
- Double-Check Measurements: It’s always good practice to measure twice to avoid any mistakes that could lead to issues during installation.
Ensuring that your space measurements are accurate will help avoid complications and ensure your built-in microwave fits perfectly into your kitchen design.
Electrical Requirements and Safety
When installing a built in microwave, electrical requirements and safety are paramount. Microwaves often require a dedicated circuit to handle the electrical load. It’s critical to ensure that your kitchen’s electrical system can support your new appliance. Here’s what to consider:
- Check Voltage and Amperage: Confirm that your kitchen’s outlets provide the right voltage and amperage for your microwave. Most built-in microwaves need a 120-volt outlet.
- Dedicated Circuit: Many models require their own dedicated circuit to prevent overloading. This means the microwave will be the only appliance on this circuit.
- Examine Your Electric Panel: Look at your home’s service panel. Ensure there’s enough capacity to add the microwave’s circuit without overloading the system.
- Understand GFCI Outlets: For safety, install GFCI (Ground Fault Circuit Interrupter) outlets in your kitchen. These can prevent electric shock by breaking the circuit in the event of a ground fault.
- Professional Wiring: If you’re not sure about your kitchen’s electrical capacity, or if you need a new circuit, hire a qualified electrician.
- Follow Local Codes: Adhere to local electrical codes and standards. They are there for your safety.
Adopting these safety measures helps ensure that your built-in microwave works efficiently and prevents potential hazards. Always put safety first when dealing with electrical installations.
Mounting and Securing the Microwave
Mounting your built in microwave securely is crucial to its safe and stable operation. Follow these steps to ensure it’s properly installed:
- Consult the Installation Template: Use the template provided by the manufacturer to mark where you’ll need to drill holes for mounting.
- Drill Pilot Holes: For each marked spot on the cabinet, drill pilot holes. Be as precise as possible.
- Mount the Brackets: If your microwave uses mounting brackets, secure them to the cabinet or wall according to the instructions.
- Lift the Microwave in Place: Carefully lift the microwave and align it with the brackets. This is often a two-person job, so get help to avoid injury.
- Secure the Microwave: Use screws to attach the microwave to the mounting brackets. Do not over-tighten, as this could damage the microwave or the cabinet.
- Check for Stability: Gently pull on the microwave to ensure it’s secure. It should not move or wiggle.
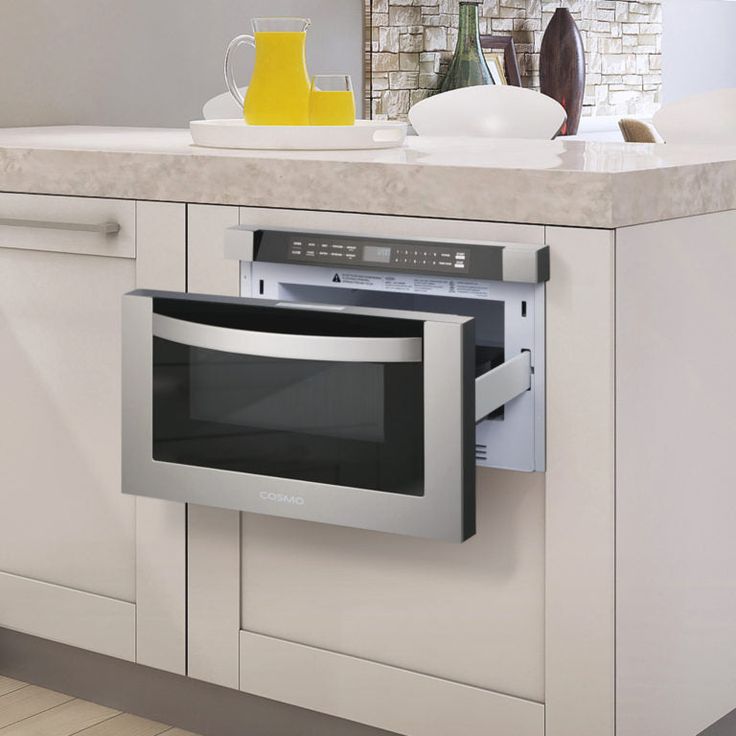
- Attach the Trim Kit: If applicable, install the trim kit around the microwave to give it a finished look.
- Verify the Door Opens Smoothly: Make sure the microwave door can open fully without obstruction.
Remember, a well-mounted microwave reduces the risk of accidents and improves the overall look of your kitchen. If you encounter difficulties, it’s wise to consult with or hire a professional installer. Safety always comes first, so take your time and follow the guidelines for a successful built-in microwave installation.
Ventilation and Clearance Considerations
Proper ventilation and clearance are vital for the longevity and functionality of your built in microwave. Ensuring your microwave has enough room to ‘breathe’ can prevent overheating and extend its lifespan. Keep these points in mind during installation:
- Refer to the Manufacturer’s Guidelines: Always check the owner’s manual. It will detail the required clearance around your microwave. Different models may have different needs.
- Plan for Air Flow: Microwaves usually expel heat through vents. Leave space around these vents for air to circulate. This will help keep the microwave cool during use.
- Consider the Trim Kit: Trim kits may affect airflow. Ensure their design allows for enough ventilation.
- Account for Future Repairs: Leave room for maintenance access. You might need to reach the back or sides of the microwave for potential repairs.
- Keep Away from Heat Sources: Avoid placing the microwave near stoves or ovens. Excess heat from these appliances can affect microwave performance.
- Do Not Obstruct Front Vents: Some microwaves vent from the front. Do not block these vents with decor items or kitchen tools.
By following these ventilation and clearance guidelines, you can ensure that your built-in microwave operates safely and efficiently. Incorporating these factors into your installation process will contribute to a well-functioning kitchen appliance.
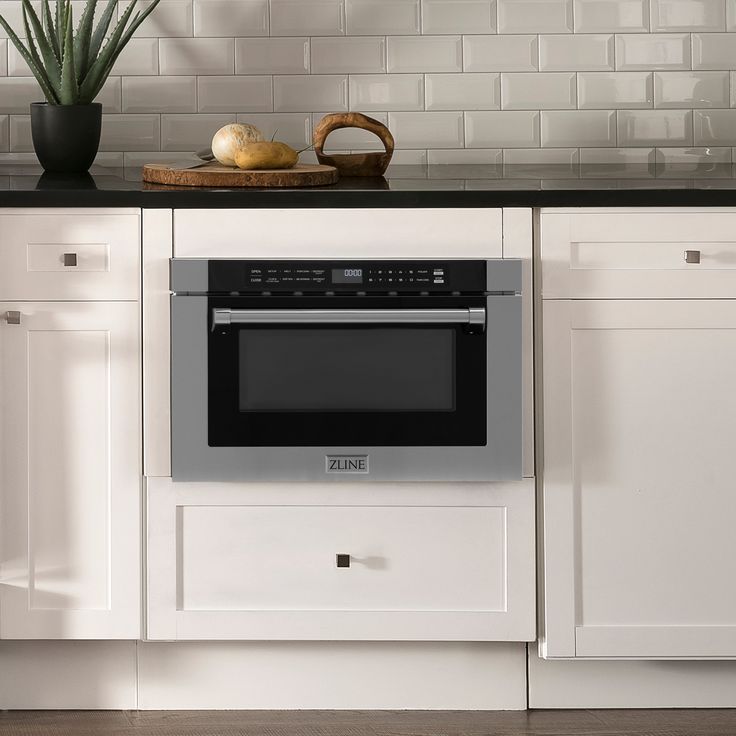
Finishing Touches and Aesthetics
Once your built-in microwave is securely in place, it’s time to focus on the finishing touches. These final steps are key to ensure your appliance not only works well but also looks great as part of your kitchen. Follow these suggestions to perfect the aesthetics of your built-in microwave installation:
- Align the Trim Kit: If your microwave includes a trim kit, adjust it so that it sits flush with your cabinetry. This creates a seamless look.
- Clean Surfaces: Wipe down the microwave and surrounding areas. Use a soft cloth to remove fingerprints and dust from the installation.
- Inspect Caulking: Check the caulking around the microwave, if applicable. Smooth out any bumps for a polished appearance.
- Test the Alignment: Open and close the microwave door to ensure it’s aligned correctly. It should swing freely without striking the trim.
- Tighten Screws: Go over all visible screws and hardware. Tighten any that are loose, but be careful not to overtighten and cause damage.
- Review the Exterior: Look at the microwave from different angles. Make sure it’s level and nothing sticks out oddly.
- Add Finishing Decors: Select kitchen decor that complements your new built-in microwave. Consider functionality as well as style.
- Final Check: Stand back and review the overall look. Your built-in microwave should blend with the kitchen, enhancing the room’s design.
Achieving the perfect blend of functionality and design with your built-in microwave installation adds both value and pleasure to your kitchen experience. Take the time to get these finishing touches right, and you’ll enjoy the benefits of your effort every time you step into your kitchen for a meal or a quick snack.
Troubleshooting Common Installation Issues
Installing a built in microwave can sometimes come with its challenges. Here’s how to tackle some common issues:
- Microwave Doesn’t Fit: If your microwave doesn’t fit, double-check your measurements. Ensure you included the trim kit and proper ventilation space. Re-measure and adjust as necessary.
- Microwave Isn’t Stable: If the microwave wobbles or seems unstable, check the mounting brackets again. Tighten any loose screws and make sure all brackets are properly aligned.
- Electrical Problems: If your microwave won’t turn on, first ensure the power is connected. Check the circuit breaker and GFCI outlets. If issues persist, consult an electrician.
- Improper Ventilation: If the microwave gets too hot, verify that there’s enough clearance around vents. Revisit the manual’s ventilation requirements and adjust if needed.
- Door Obstructions: If the door doesn’t open smoothly, check for obstructions. Make sure the microwave is installed with enough space to fully open the door.
- Trim Kit Issues: For trim kit problems, align it correctly with the cabinets. If it doesn’t fit, contact the manufacturer for assistance.
- Noise During Operation: If there’s noise when running, ensure the microwave is secured correctly. Loose parts can vibrate and cause noise.
By addressing these common installation issues, your built in microwave should function smoothly as part of your kitchen ensemble. Don’t hesitate to seek professional help if you’re unable to resolve these problems on your own.