Choosing the Right Bread Maker Machine
Navigating through the myriad of options in the bread maker machine market can be daunting. With a plethora of brands and models available, it’s easy to feel overwhelmed. However, finding the right bread maker machine doesn’t have to be complicated. The key lies in understanding your needs and knowing what features are essential for you.
Understanding Different Types of Bread Makers
Prior to purchase, it’s crucial to understand the different types of machines available. The most common types include:
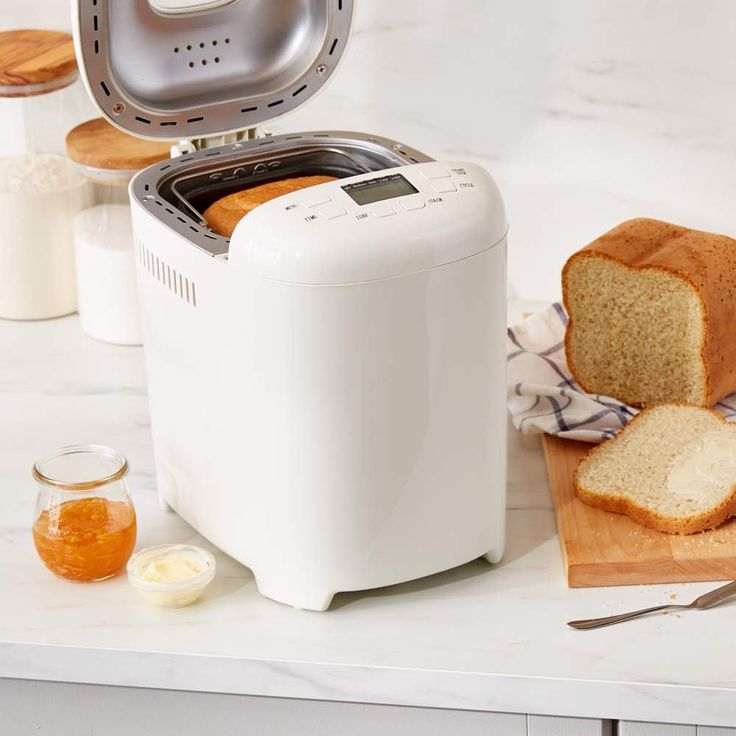
- Horizontal Bread Makers: These machines produce loaves that resemble store-bought bread. They feature a horizontal baking pan, allowing for a traditional loaf shape. This design is often favored for family-sized loaves, making it an excellent choice if you enjoy making sandwiches.
- Vertical Bread Makers: Designed to be more compact, these machines bake bread upwards. They result in a tall loaf, which alters the crust-to-bread ratio. This style is perfect for those with limited counter space.
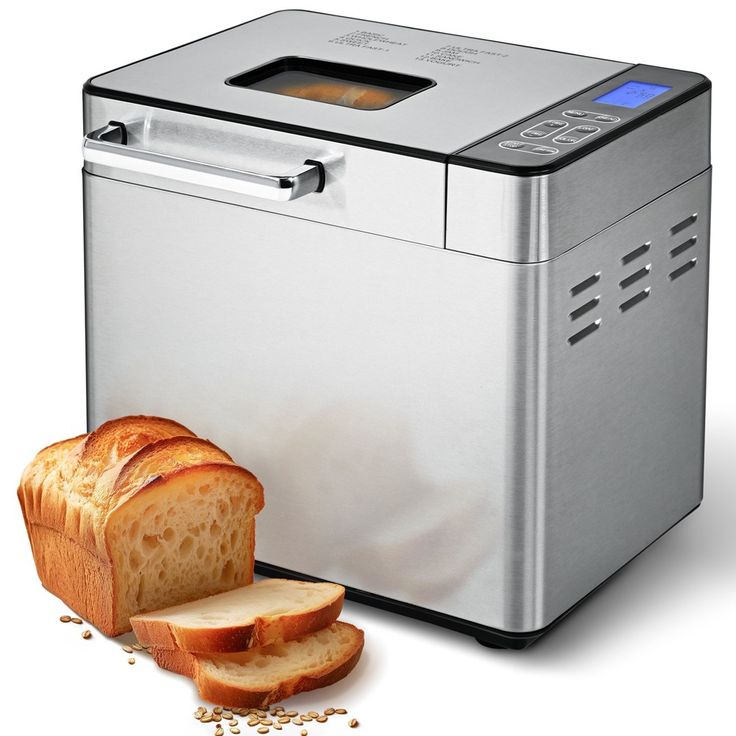
- Programmable Bread Makers: These versatile machines offer a range of settings for various bread types and crust colors. Whether you enjoy whole wheat, gluten-free, or sourdough, a programmable machine can cater to your preferences.
When exploring these types, consider your available space, the shapes of bread you prefer, and how versatile you want your machine to be. Each type has its own benefits, so think about what fits best for your lifestyle.
Key Features to Look for When Buying
As for key features, you’ll want to keep an eye out for several important elements:
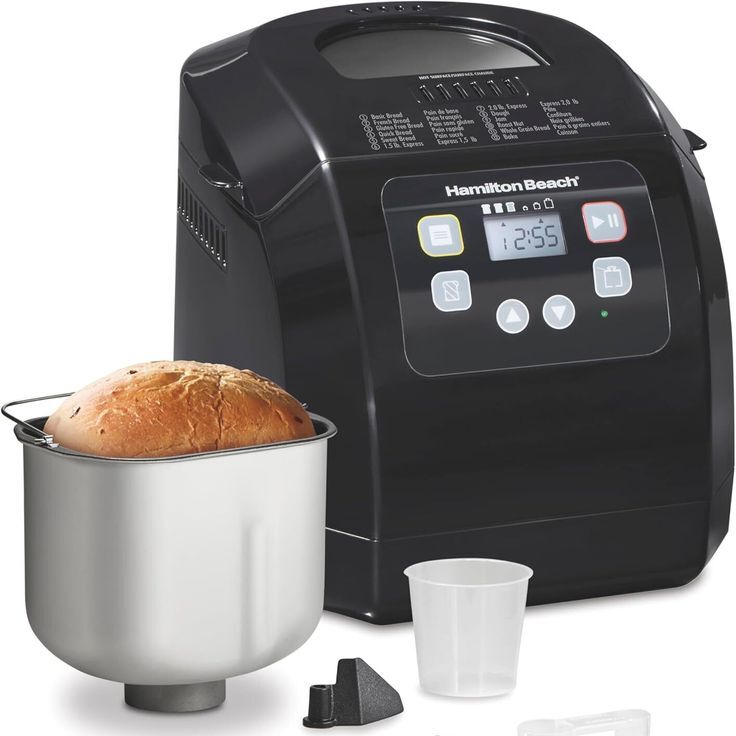
- Capacity: Match the machine size with the amount of bread you’ll commonly bake. For solo cooks or small families, a smaller model may suffice. Conversely, larger families might benefit from machines that can produce bigger loaves.
- Timer Functions: A delay timer can be invaluable for fresh bread ready when you are. This feature allows you to set the machine to start baking at a convenient time, ensuring you wake up to the smell of freshly baked bread.
- Pre-Programmed Settings: Look for models that simplify the bread-making process by providing pre-programmed settings for various bread types. This feature can make baking easier, especially for beginners.
- Crust Control: If crust preference varies in your household, a crust control feature is a must. Different settings allow users to achieve various levels of crustiness, satisfying everyone’s tastes.
- Easy Cleaning: Maintenance should also be simple. Look for bread makers with nonstick pans and removable parts. This will make your cleanup effortlessly quick and enjoyable.
By focusing on these features, you can ensure that your bread maker machine fits your lifestyle. The right choice will significantly simplify your bread-making process, allowing you to enjoy homemade bread with minimal fuss.
The Basics of Bread Making
To begin your bread-making journey, understanding the cornerstone of any delicious loaf – the ingredients and their roles – is essential. Each component in a bread recipe has a specific purpose that contributes to the final texture, flavor, and appearance of your bread. Let’s delve into this further.
Learning about Ingredients and Their Functions
A basic bread recipe usually includes flour, water, yeast, and salt. These are the building blocks of bread-making:
- Flour: Provides the structure and gluten, which gives bread its chewy texture.
- Water: Hydrates the flour, dissolves the yeast, and helps gluten develop.
- Yeast: The driving force behind fermentation; yeast makes bread rise and adds flavor.
- Salt: Regulates yeast activity and enhances the taste of your bread.
Additional ingredients such as sugars, fats, and dairy products can also be part of a recipe, often contributing to the bread’s softness, color, and richness.
The Importance of Measurements and Timing
Getting the right proportions and timing when making bread is critical. It’s not just about the taste – it also affects bread’s rise and texture:
- Measurements: Use precise ratios of ingredients. A digital scale can aid in accuracy.
- Timing: Pay attention to rising times. Under-proofed or over-proofed dough can lead to dense or overly airy bread.
By closely following measurements and timing, you ensure your bread maker machine produces perfect results every time. In the next sections, we’ll cover how to use your bread maker machine, from your very first loaf to advanced baking techniques.
How to Use a Bread Maker
Getting started with your new bread maker machine takes just a few simple steps. Here’s a step-by-step guide to show you how.
Step-by-Step Guide to Your First Loaf
- Read the Manual: Start by reading the machine’s manual. It contains crucial information.
- Gather Ingredients: Prepare flour, water, yeast, and salt based on your recipe.
- Add Ingredients: Most machines require liquids first, then dry ingredients, and yeast last.
- Select a Program: Choose the setting that matches your bread type.
- Set Crust Preference: Pick your desired crust color if your machine has this function.
- Start the Machine: After selection, hit the start button to begin baking.
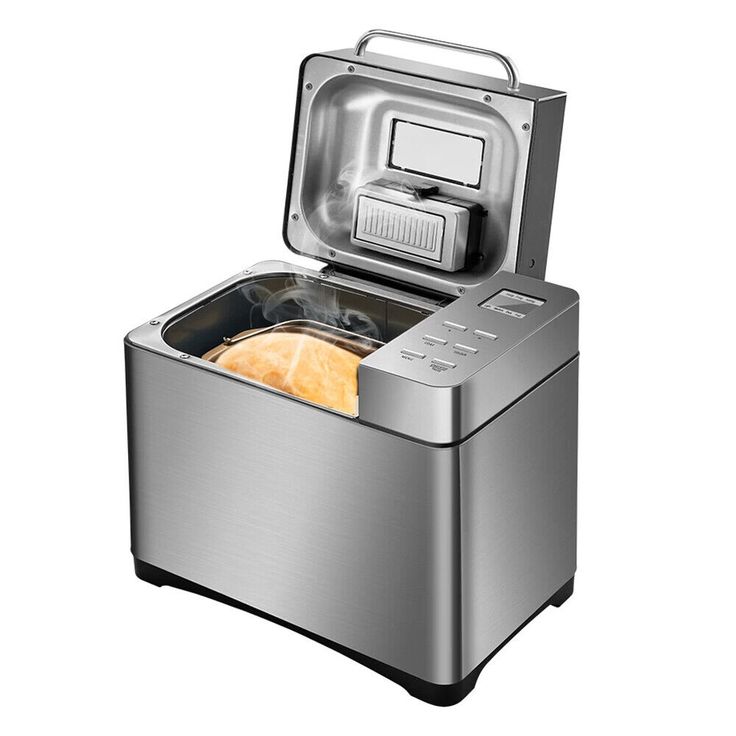
- Wait Patiently: Don’t open the lid; it disrupts the rising and baking phases.
- Remove Bread: Once done, take out the loaf and place it on a rack to cool.
By following these steps, your first loaf will be a success.
Common Mistakes to Avoid for Beginners
To master the use of a bread maker machine, steer clear of these beginner blunders:
- Incorrect Measurements: Always use the exact amounts; precision is key.
- Opening the Lid: Resist the urge to peek; it can cause bread to collapse.
- Overloading the Machine: Stick to the recommended ingredient proportions for your model.
- Ignoring Cleaning: Clean after each use to maintain machine performance.
- Skipping Pre-Programmed Settings: Use these for consistent results and ease of use.
By evading these common errors, your bread-making should be smooth and your results, delicious.
Maintenance and Cleaning
Keeping your bread maker machine running smoothly requires regular maintenance and cleaning.
Tips for Keeping Your Machine in Top Shape
To ensure the longevity of your bread maker, here are some maintenance tips:
- Check the manual: Always refer to the manufacturer’s maintenance recommendations.
- Inspect regularly: Look for signs of wear or damage in the bread pan and kneading paddles.
- Tighten elements: Occasionally, ensure that all parts are securely fastened and not loose.
- Update settings: If your machine has firmware, check for and install updates.
- Store properly: When not in use, keep your machine in a dry, clean place.
By implementing these tips, your bread maker will remain reliable for years to come.
Cleaning Your Bread Maker After Use
A clean machine is vital for food safety and equipment longevity. Here’s how to do it:
- Unplug the machine: Always disconnect from electricity before cleaning.
- Cool down: Allow the bread maker to cool completely after use.
- Remove remnants: Take out any leftover bread crumbs or dough.
- Clean parts: Wash the bread pan and kneading paddles with warm soapy water.
- Wipe down: Use a damp cloth to clean the interior and exterior surfaces.
- Dry thoroughly: Make sure all parts are completely dry before reassembling.
Regular cleaning after each use will help prevent the buildup of old dough and bread crumbs, and keep your bread maker in pristine condition.
Bread Maker Recipes for Beginners
Getting started with a bread maker machine can be exciting. To help, here are some simple recipes.
Simple Recipes to Get You Started
Jump into bread making with easy recipes that guarantee success. Here’s how you can start:
- Basic White Bread: A recipe that requires flour, water, yeast, and a bit of sugar and salt. It’s ideal for beginners.
- Whole Wheat Bread: Slightly more complex, this calls for a mix of whole wheat and all-purpose flour, with a touch of honey for sweetness.
- French Bread: With a crispy crust and fluffy inside, this recipe uses simple ingredients like flour, water, yeast, and salt.
Starting with these recipes will build your confidence and familiarity with your bread maker machine.
Exploring Different Types of Breads
Once you’ve mastered the basics, start exploring. Try these varieties:
- Rye Bread: Known for its dense texture and rich flavor, rye is a change from the usual.
- Cinnamon Raisin Bread: Sweet and spiced, it’s perfect for breakfast or a treat.
- Gluten-Free Bread: There are many recipes available for those with gluten sensitivities.
Experiment with these to enjoy a range of breads from your bread maker machine.
Advanced Settings and Techniques
Once you’re comfortable with your bread maker machine, it’s time to explore its advanced settings. These features can elevate your bread-making skills and introduce you to a whole new world of possibilities.
Using Custom Programs and Features
Your bread maker machine likely has custom programs that allow for more control. Use these to tweak the bread-making process. You can adjust the kneading, rising, and baking times to suit specific recipes. Some machines offer the ability to save these custom settings. This feature is handy for recipes you make often. Explore the machine’s menu and experiment with different combinations to find what works best for your tastes.
Experimenting with Artisan Breads and Doughs
Now let’s dive into the artistry of bread-making. Artisan breads often require unique processes. They include multiple rise times or special ingredients like seeds and nuts. Your bread maker might have settings for doughs, such as pizza or pretzel, which you can then shape and bake outside the machine. Look for recipes for artisan breads. Adjust the settings on your bread maker to match. Over time, you’ll learn how to produce bakery-quality loaves right from home.
Troubleshooting Common Issues
When using your bread maker machine, things might not always go as expected. However, with a few troubleshooting tips, you can address common issues effectively.
What to Do When Things Don’t Go to Plan
Here’s what to do if you run into specific problems while baking:
- Bread Not Rising: One of the most common issues is bread not rising. Start by checking the yeast’s expiration date. If it’s too old, the yeast may not activate properly, preventing the dough from rising.
- Bread Collapsing: If your bread collapses after baking, consider reducing the amount of liquid used. Additionally, ensure you’re not opening the lid too often during the baking process, as this can affect the rise.
- Uneven Crusts: Uneven crusts often indicate an issue with positioning. Make sure the bread pan is centered in the machine. Also, check that the kneading paddles are secured properly to ensure even mixing and baking.
- Machine Noise: If your bread maker is louder than usual, check if the pan is inserted correctly. Improper placement can lead to excessive noise during operation.
- Dense Bread: To avoid dense bread, ensure you have the right flour-to-water ratio. Using fresh yeast is also crucial, as expired yeast could lead to less effective rising.
- Error Codes: If the machine displays error codes, refer to the manual for specific troubleshooting steps. If issues persist, don’t hesitate to reset the machine or contact customer support for assistance.
By addressing these common issues promptly, you’ll be back to baking perfect loaves in no time. With a little patience and attention, you can enjoy delicious homemade bread consistently.
Accessories and Add-ons for Your Bread Maker
Once you’ve familiarized yourself with your bread maker machine, it’s time to consider how accessories and add-ons can enhance your baking experience. The right tools can make the process smoother and more enjoyable, allowing you to experiment with different recipes and techniques.
Enhancing Your Bread Making Experience
To elevate your bread-making journey, consider incorporating the following essential accessories:
- Measuring Tools: Accurate measuring cups and spoons or a digital scale ensure precision when measuring your ingredients. Consistent measurements lead to predictable and successful baking results.
- Bread Slicing Guide: A bread slicing guide is an invaluable tool. It helps you cut even slices every time, which is perfect for creating uniform portions for toast or sandwiches.
- Bread Storage Solutions: Invest in a good-quality bread bin or resealable bags to keep your homemade loaves fresh for longer. Proper storage prevents staleness and maintains flavor, allowing you to enjoy your bread at its best.
- Ingredients Dispenser: Some bread machines come with built-in dispensers. If yours doesn’t, consider adding one. It releases nuts or fruits at the right time during the baking process.
- Replacement Paddles and Pans: Having spare paddles and pans on hand means no delays if the original parts wear out. It ensures that you can continue baking without interruption.
- Cookbook: Finally, a dedicated bread machine cookbook can inspire you with new recipes and techniques to explore. This resource provides guidance and creativity for your culinary adventures.
By investing in these accessories, you can greatly enhance your bread-making experience, making it more efficient and enjoyable.