
In today’s homes, refrigerator water filters have become an essential feature, ensuring that the water and ice dispensed are clean and fresh. Samsung, a leading brand in home appliances, equips its refrigerators with advanced filtration systems to provide high-quality drinking water. However, like all filters, these need periodic replacement to maintain their efficiency. This comprehensive guide walks you through the process of replacing the water filter in your Samsung fridge, emphasizing the importance, steps, and tips for a seamless experience.
Understanding the Importance of Filter Replacement
Before diving into the replacement procedure, it’s crucial to grasp why changing your fridge’s water filter is vital. Over time, water filters trap contaminants such as chlorine, lead, and other impurities, improving taste and odor. As the filter collects these substances, its capacity diminishes, leading to reduced flow and potentially allowing impurities to pass through. Samsung recommends replacing the filter every six months or when the filter indicator light turns red, ensuring your water remains pure and healthy.
Locating Your Samsung Fridge’s Water Filter
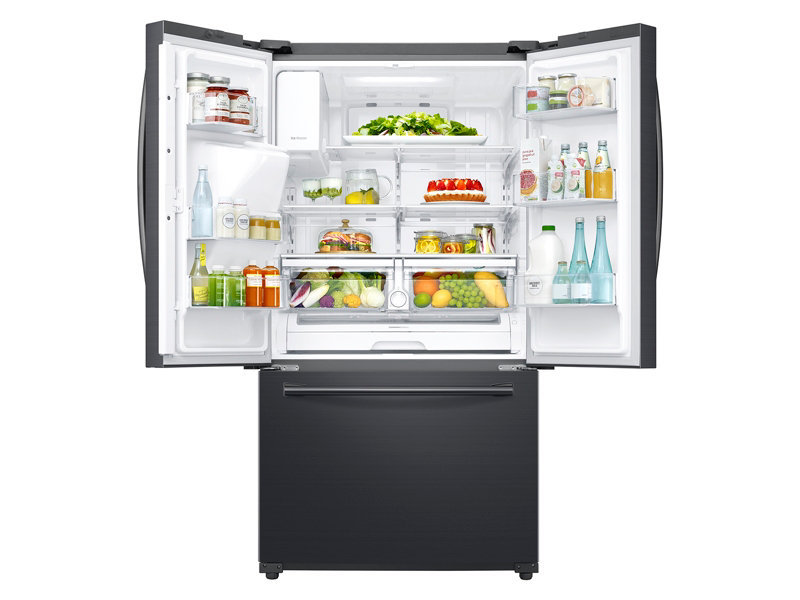
Samsung fridge models house their water filters in different locations, commonly either inside the fridge compartment or in the grille at the bottom front. To start, consult your fridge’s user manual to pinpoint the exact location. Generally:
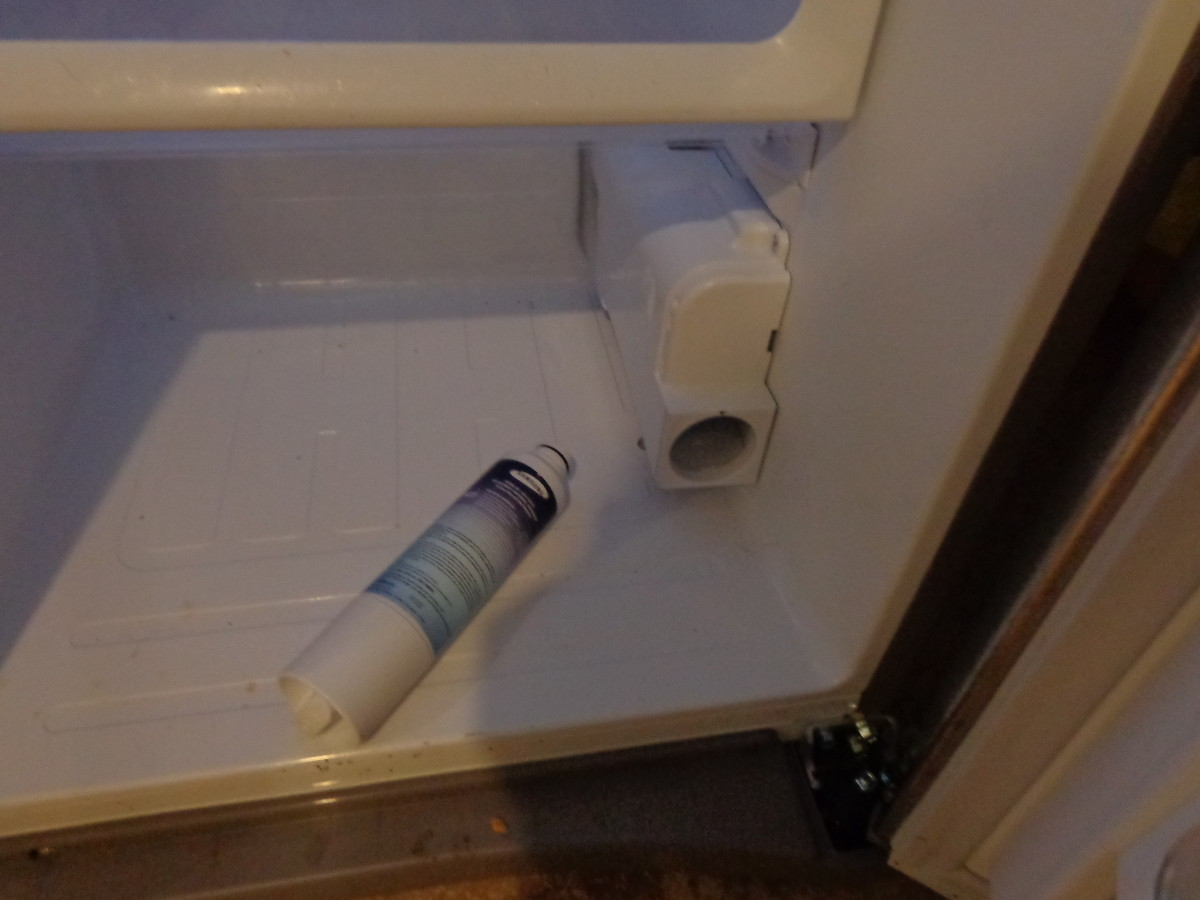
- Inside the Fridge Compartment: Some models have a filter housing located at the top right corner inside the fridge. You might need to remove a protective cover to access it.
- Grille at the Bottom Front: Other models hide the filter behind a grille at the base of the fridge. You’ll need to slide the grille out to reveal the filter compartment.
Preparing for the Replacement
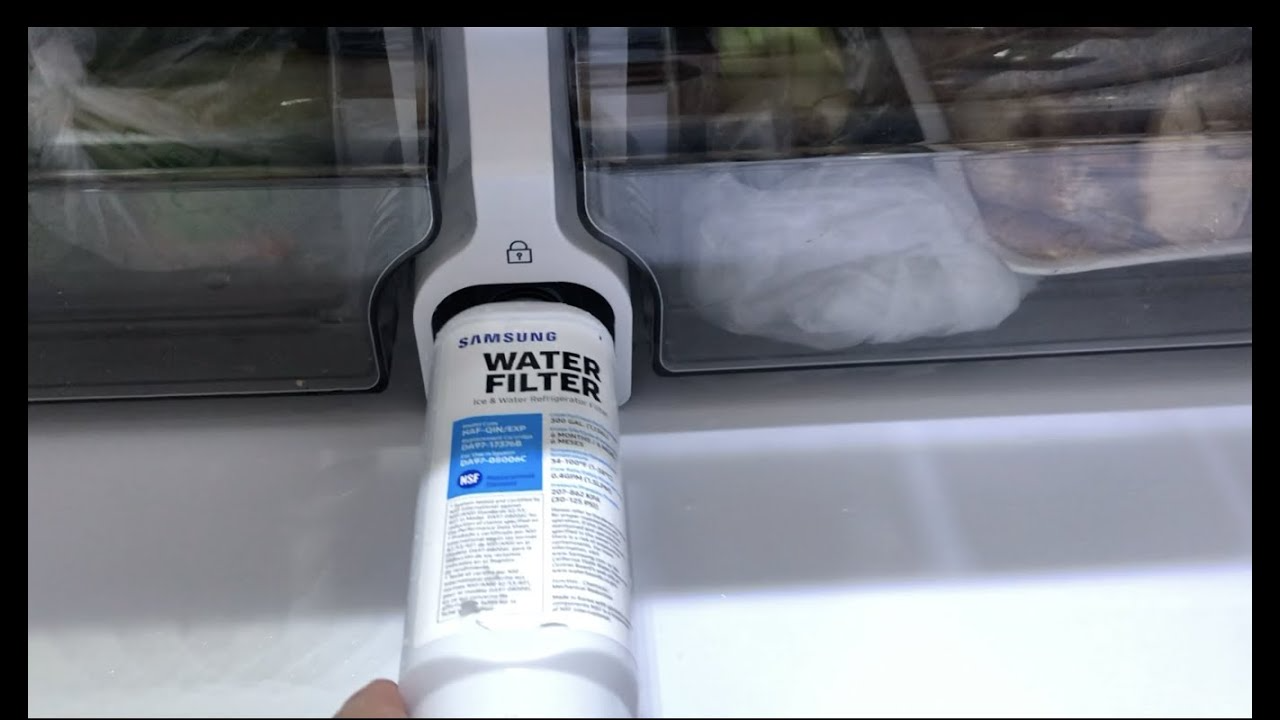
Before beginning the replacement, ensure you have the correct replacement filter model number, which is usually printed on the existing filter or can be found in the user manual. Samsung uses a range of filters, including the popular HAF-CIN/EXP, HAF-QIN, and DA29-00020B models. Purchase the compatible filter to avoid any fitting issues.
Step-by-Step Guide to Replacing Your Samsung Fridge Water Filter
With the necessary preparations complete, follow these straightforward steps for a successful filter swap:
Turning Off the Water Supply (If Applicable)
For models with a shut-off valve, turn off the water supply to the fridge to prevent any spills during the process. Locate the valve, typically found behind the fridge or under the sink, and turn it clockwise until it stops.
Removing the Old Filter
- Release Mechanism: Depending on the filter’s position, you might need to press a release button or twist the filter counterclockwise to unlock it from its housing.
- Pulling Out the Filter: Once unlocked, gently pull the old filter straight out or down, depending on its location.
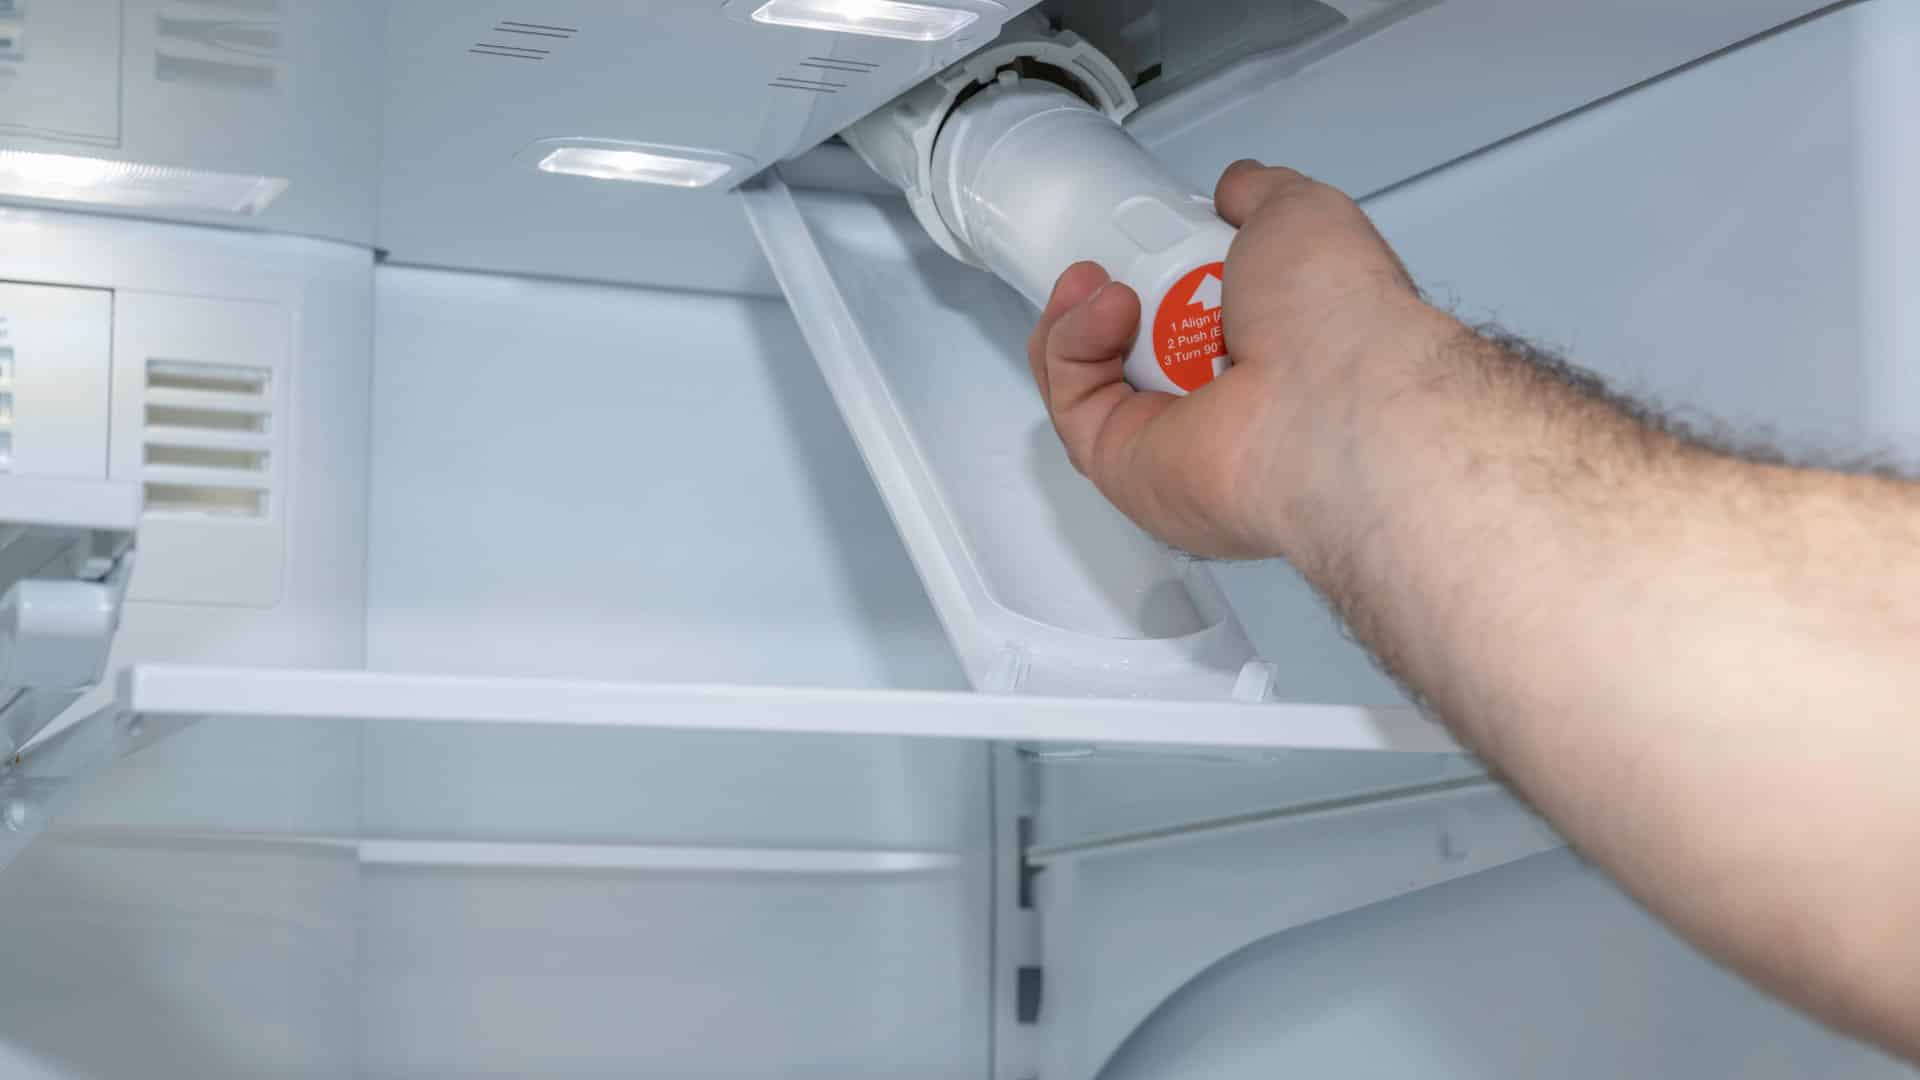
Installing the New Filter
- Removing Packaging: Unbox the new filter and remove any protective plastic or wrapping.
- Soaking (Optional): Though not mandatory, some users prefer to soak the new filter in cold water for about 15 minutes to prime it and reduce any initial sputtering.
- Inserting the New Filter: Align the new filter with the housing, ensuring the arrows or markings match those on the housing. Push it in until it locks into place, twisting clockwise if required.
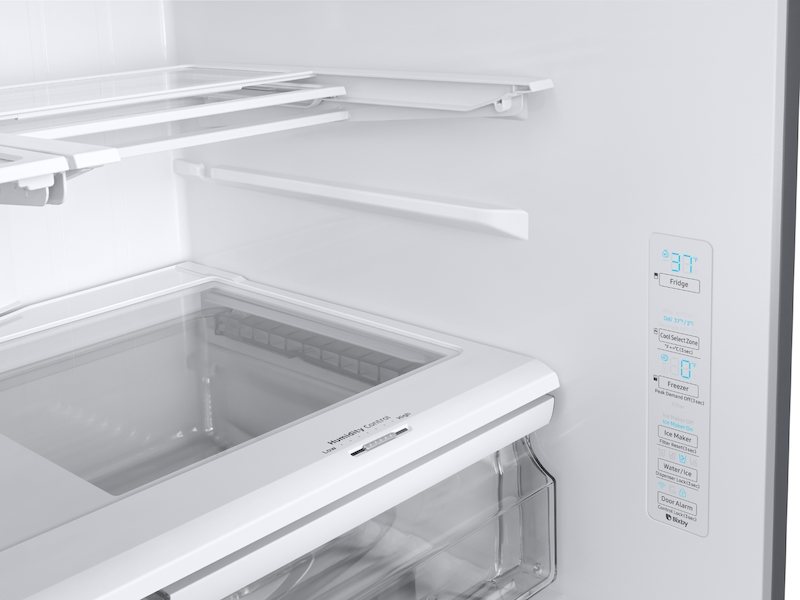
Resetting the Filter Indicator
Most Samsung fridges feature an electronic filter indicator that needs resetting after replacement:
- Locate the Button: Find the reset button, often near the filter housing or on the control panel.
- Press and Hold: Press and hold the button for a few seconds until the indicator light turns green or goes off, signaling the reset is complete.
Post-Replacement Tips and Considerations
Replacing an item, whether it’s a household appliance, a piece of technology, or a vehicle part, can be a significant investment. To ensure you get the most out of your new purchase and to minimize any potential issues, here are some post-replacement tips and considerations:
Read the Manual
Before using your new item, thoroughly read through the user manual or instruction guide. This will help you understand its features, proper usage, maintenance requirements, and warranty information.
Proper Installation
If the replacement involves installation, ensure it’s done correctly. For complex items like appliances or car parts, consider professional installation to avoid damage or safety issues. Follow manufacturer guidelines and use any included hardware or accessories.
Register Your Product
Many manufacturers offer product registration, which can be important for warranty purposes and to receive updates or recall notifications. Take a few minutes to register your new item online or by mail.
Dispose of Old Item Properly
Depending on the item, there may be specific disposal regulations in your area. Electronics, batteries, and appliances often need to be recycled or disposed of at designated facilities to prevent environmental harm.
Energy Efficiency
If you’ve replaced an appliance or electronic device, check if the new model is more energy-efficient than the old one. Adjust your usage habits accordingly to save on utility bills and reduce your carbon footprint.
Regular Maintenance
Schedule routine maintenance as recommended by the manufacturer. This can prolong the life of your new item and prevent small issues from turning into major problems.
Keep Records
Keep a record of the purchase date, receipt, warranty details, and any service or repair history. This information can be invaluable if you encounter issues down the line or need to file a warranty claim.
Insurance and Home Warranty Updates
If applicable, inform your home insurance provider or home warranty company about the replacement. New items might affect your coverage or premiums.
Learn New Features
Modern replacements often come with upgraded features or smart technology. Take time to explore these enhancements and learn how to use them to maximize your benefit.
Feedback and Reviews
After using the new item for a while, consider leaving a review or providing feedback to the manufacturer or retailer. Your experience can help others make informed decisions and may also provide valuable insights for product improvement.
By following these tips, you can ensure a smooth transition and optimize the performance and longevity of your replacement item.
Conclusion
In conclusion, replacing the water filter in your Samsung fridge is a straightforward task that significantly impacts the quality of your drinking water. By adhering to the manufacturer’s guidelines and following the steps outlined above, you can ensure a continuous supply of clean, refreshing water for you and your family. Remember, regular maintenance is key to maximizing the efficiency and lifespan of your appliance.