What is a Humidifier and Why You Need One
A humidifier is a device that adds moisture to the air. Dry air can cause discomfort, such as dry skin, itchy eyes, and sore throats. It can even damage wooden furniture. This is where a humidifier comes in handy, especially during the winter months, when indoor air tends to get drier due to heating systems.
Besides providing comfort, using a humidifier can also help with health issues. It can ease symptoms of a cold, allergies, and asthma by keeping the mucus membranes moist. With a homemade humidifier, you gain these benefits while saving money and using simple resources you likely have at home.
Types of Humidifiers and Their Mechanism
Before diving into building your homemade humidifier, let’s understand the different types available and how they work. There are mainly five types of humidifiers. Each type uses a distinct mechanism to add moisture to the air.
Central Humidifiers
Built directly into a home’s heating and air conditioning system, central humidifiers are the most expensive type. They are, however, very effective in regulating the humidity level of the entire house. They connect to the water supply and introduce moisture into the air through the heating system.
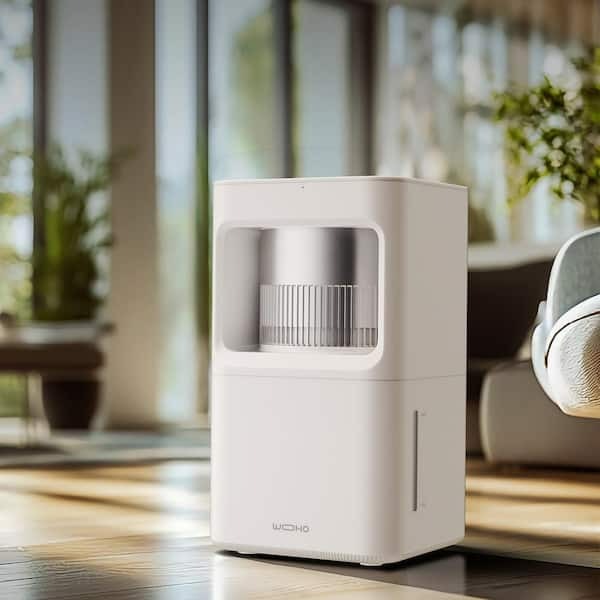
Evaporative Humidifiers
These are the most common type of humidifiers. They contain a wick filter that absorbs water from a reservoir. A fan then blows air through the moistened filter. As the air passes through the filter, it evaporates some of the water into the air. This type of humidifier self-regulates, as the humidity level rises, the evaporation process slows down.
Steam Vaporizers
Steam vaporizers use electricity to create steam which then cools before leaving the machine. While effective, these vaporizers can be a burn hazard if not used properly, and they tend to consume more energy.
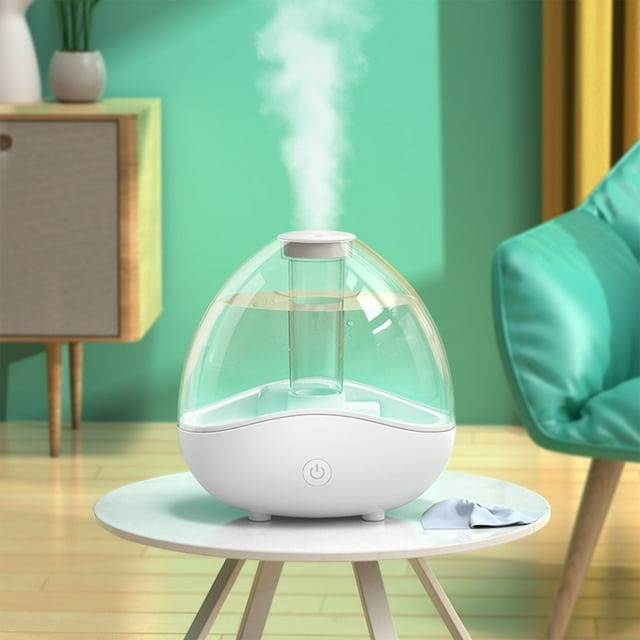
Ultrasonic Humidifiers
Ultrasonic humidifiers use a metal diaphragm vibrating at an ultrasonic frequency to create water droplets. This ultrasonic vibration produces a fine mist that is expelled to add moisture to the room. They are available in both warm and cool mist types and are generally quiet in operation.
Impeller Humidifiers
Impeller humidifiers work by using a rotating disk to fling water at a diffuser, which breaks the water into fine droplets that are released into the air. These humidifiers produce a cool mist and are child-friendly because they do not involve heat.
Understanding these types will help you decide which homemade humidifier mechanism is best suited for your needs. When creating homemade humidifiers, it’s common to mimic the evaporative or ultrasonic types due to their simpler construction.
Materials Needed for a Homemade Humidifier
Preparing to create a homemade humidifier requires gathering some common household items. Depending on the type you decide to make, materials may vary. However, here are some essentials you’ll likely need for a basic model:
- Water Container: Choose a container to hold water. This could be a bottle, jar, or any other water-safe vessel.
- Absorbent Material: You’ll need a medium to help disperse the water. Common choices include a sponge, cloth, or cotton wick.
- Fan: The fan will aid in evaporating the water. A small, battery-powered fan or an old computer fan works well.
- Power Source: If your fan isn’t battery-powered, you’ll need access to an outlet or a USB port.
- Sealants: Have tape or adhesive on hand to ensure all parts of your homemade humidifier stay secure.
These materials are the building blocks for creating an effective homemade humidifier. Ensure that you have them ready before starting your project. Remember, safety is paramount when working with water and electricity, so take care when assembling your homemade device.
Step-by-Step Guide to Creating Your Own Humidifier
Creating your own homemade humidifier can be a rewarding DIY project. Here’s a simple guide to help you build an evaporative-type humidifier, which is one of the most common and easy-to-make models. Follow these steps, and you’ll enhance the humidity of your space in no time.
- Gather Materials: Start by collecting all the materials you need. Ensure you have a water container, absorbent material, fan, power source, and sealants ready.
- Prepare the Water Container: Take your chosen container and fill it with clean water. Make sure it’s only filled to about three-quarters to prevent spilling.
- Set Up Absorbent Material: Attach your absorbent material to the edge of the container. It should touch the water so it can soak it up.
- Install the Fan: Position your fan so that it blows air across the absorbent material. This will help the water evaporate and add moisture to the air.
- Secure with Sealants: Use tape or adhesive to secure the components together. Check that everything is stable and there are no leaks.
- Connect to Power: Plug in the fan or connect it to the power source. If you’re using a USB fan, it can be powered by a computer or USB adapter.
- Test Your Humidifier: Turn on the fan and watch as the humidity begins to rise. Adjust the fan speed to control the amount of humidity released.
Congratulations! You’ve now created your very own homemade humidifier. It’s a simple, cost-effective way to combat dry air in your home.
Safety Tips for DIY Humidifiers
When embarking on the creation of a homemade humidifier, safety must be at the forefront of your process. Working with water and electricity presents certain risks that can be mitigated with proper precautions. Here are essential safety tips to ensure that your DIY humidifier project doesn’t turn into a hazard.
- Keep Water and Electricity Separate: Don’t let water come into contact with any electrical components. Make sure there’s a secure seal between the two.
- Use Insulated Wires: If your homemade humidifier uses an electrical fan, ensure all wires are properly insulated to prevent short-circuits or shocks.
- Stable Setup: Place your humidifier on a stable surface. It must not tip over easily, potentially causing water to spill near electrical outlets or devices.
- Monitor Water Levels: Regularly check the water level in your container to avoid it running dry. An empty container might cause your fan to overheat or burn out.
- Avoid Overfilling: Do not fill the water container to the brim. Leave some space to reduce spill risks that can lead to electrical dangers.
- Unplug When Not In Use: Always unplug your DIY humidifier when it’s not in operation. This minimizes risks and conserves energy.
- Check for Leaks: Inspect your humidifier for leaks often. Any leakage must be rectified immediately to prevent water damage and electrical malfunctions.
- Do Not Leave Unattended: Especially if you have children or pets, never leave your homemade humidifier running unsupervised.
- Use a Low Voltage Fan: To reduce the risk of electrical accidents, use a fan that operates on low voltage, like a USB-powered fan.
- Keep Away from Flammable Materials: Place your humidifier away from anything that can catch fire easily, such as curtains or paper.
- Do Not Handle with Wet Hands: When adjusting or moving your humidifier, ensure your hands are dry to prevent any risk of electric shock.
By diligently following these safety tips, you can enjoy the comfort of increased humidity without compromising the safety of your home environment. It’s crucial to approach the project with careful planning and continuous vigilance.
Maintaining and Cleaning Your Homemade Humidifier
After building your homemade humidifier, regular cleaning and maintenance is key. This ensures it keeps working well. Here’s what you need to do to keep your humidifier in top shape:
- Empty and Rinse: Every day, pour out the old water. Give the container a quick rinse to prevent mold.
- Wipe It Down: Use a cloth to wipe the inside of the container. This removes any residue or buildup.
- Check the Absorbent Material: Inspect the cloth or sponge regularly. Change it if it looks dirty or worn out.
- Clean the Fan: Dust can slow down the fan. Use a soft brush to gently clean the blades.
- Inspect for Leaks: Look over your humidifier for any signs of leaking. Fix any leaks you find right away.
- Replace Water Daily: Always fill your humidifier with fresh water before use. This reduces the chance of bacteria growth.
- Disinfect Weekly: Once a week, clean your humidifier with a mild disinfectant. Rinse it thoroughly after disinfecting.
By following these simple steps, you can ensure your homemade humidifier remains safe and effective. Regular maintenance helps avoid any health issues associated with dirty humidifiers. Moreover, it prolongs the life of your DIY device, making it a trusty companion for dry seasons.
Advantages of Homemade Humidifiers Over Commercial Ones
Creating a homemade humidifier offers several benefits compared to buying a commercial one. Here are key advantages you can enjoy by going the DIY route:
- Cost-Efficiency: Commercial humidifiers can be costly. A homemade humidifier requires only a few household items, saving you money.
- Eco-Friendly: DIY humidifiers allow you to repurpose materials. This reduces waste and is better for the environment.
- Customization: You can tailor your homemade humidifier to the size and humidity level you need. Store-bought versions lack this flexibility.
- No Harsh Chemicals: Many commercial humidifiers use chemicals to prevent mold. With regular maintenance, a DIY version uses only water and natural disinfectants.
- Ease of Repair: If a commercial humidifier breaks, it might be hard to fix. With a homemade one, you can easily replace parts.
- Learning Experience: Building your humidifier can teach you valuable skills. You learn about humidity, electronics, and crafting.
- Simplicity: Commercial humidifiers can have complex settings and features. A DIY humidifier offers simple operation without confusing extras.
By choosing to create a homemade humidifier, you are opting for an affordable, customizable, and eco-conscious alternative to traditional store-bought models. Plus, it’s a fun project that can bring a sense of accomplishment once completed. Keep in mind, though, maintaining and cleaning your homemade humidifier is crucial for its effectiveness and longevity.
Innovative Ideas for Homemade Humidifiers
If you love to DIY and tinker, here are some innovative ideas for homemade humidifiers:
- Use a Large Sponge: Find a big sponge, soak it in water, and place it in a shallow dish. Set a fan nearby to blow over it, increasing evaporation.
- Recycle a Bottle: Pierce holes in the side of a plastic bottle. Fill it with water and hang it over a heat source, like a radiator.
- Utilize Plant Power: Place water-loving plants in bowls of water. They release moisture as they breathe, acting as natural humidifiers.
- Rock Salt Solution: Fill a bowl with rock salt and add water just below the salt’s surface. It slowly absorbs and evaporates water.
- Sponge Wick System: Create a holder for a wet sponge to stand upright. Attach it to the top of a water-filled jar, with part of the sponge submerged.
- Terracotta Dish Design: Invert a terracotta dish over a pot of water. The porous material slowly absorbs and releases moisture.
Remember, innovation doesn’t stop here. You can combine elements from different types, like an ultrasonic diaphragm with a sponge wick, to enhance your homemade humidifier’s efficiency. Keep experimenting safely, and you might craft something truly special and suited for your home’s needs.