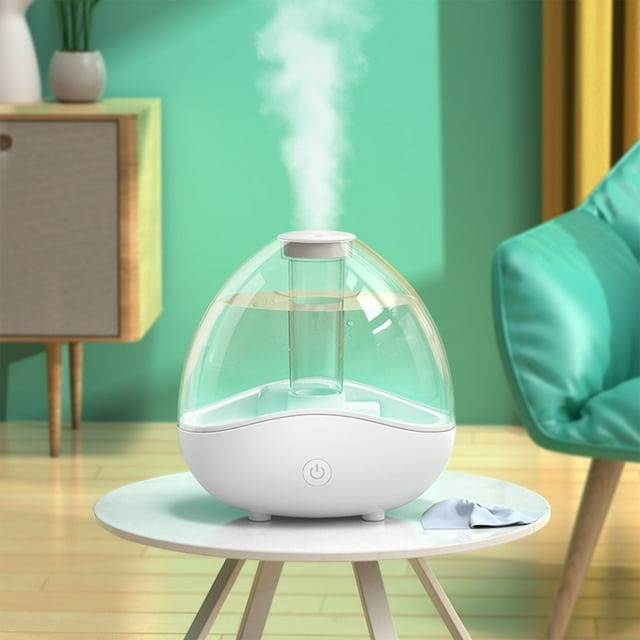
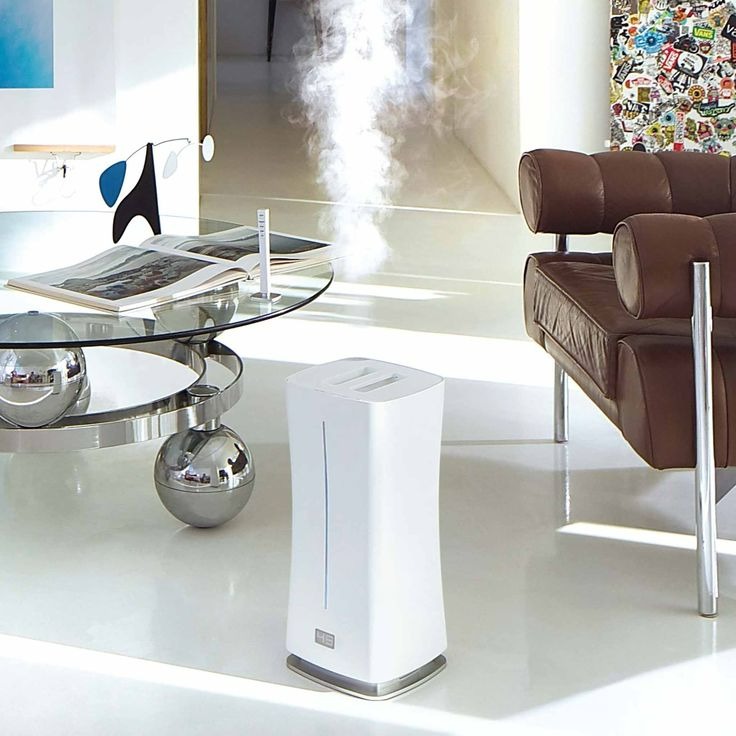
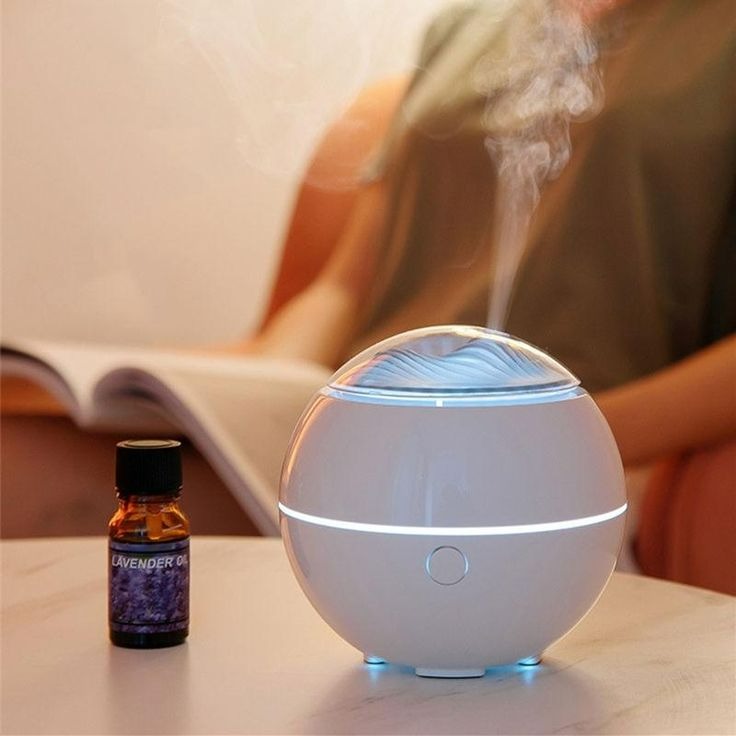
Importance of Regular Humidifier Cleaning
Regular cleaning of your humidifier is crucial for multiple reasons. First, it ensures the emitted mist is clean and free of harmful bacteria or mold spores. These can cause health issues if inhaled over time. A clean humidifier also operates more efficiently, which can save on energy costs. Furthermore, frequent maintenance extends the lifespan of the device, preventing malfunctions due to buildup of minerals or mold. Moreover, a well-maintained humidifier preserves indoor air quality, which is beneficial for individuals with allergies or respiratory issues.
To highlight the importance of regular cleaning, here are key benefits:
- Prevents the Growth of Bacteria and Mold: Left unchecked, a humidifier can become a breeding ground for bacteria and mold, posing health risks.
- Ensures Efficient Operation: Cleaning removes obstructions, allowing the humidifier to function effectively.
- Extends Humidifier Lifespan: Regular cleaning prevents the premature break-down of its parts.
- Safeguards Air Quality: A clean humidifier contributes to cleaner air, which can alleviate allergy and asthma symptoms.
In summary, understanding how to clean a humidifier is not just about maintaining the device; it’s about ensuring a healthy home environment. By keeping your humidifier clean, you can breathe easier and rest assured that the air in your home stays fresh and beneficial. The next sections will walk you through how to clean a humidifier properly, ensuring safe and optimal performance.
Preparing to Clean Your Humidifier
Before starting the humidifier cleaning process, preparation is key. Start by gathering all the necessary tools and materials. You’ll need a soft cloth, a brush with gentle bristles, and white vinegar or a cleaning solution designed for humidifiers. Make sure you have a large area, like a kitchen sink or a tub, to perform the cleaning. Turn off and unplug the humidifier from the power source to ensure safety. Empty any remaining water from the tank and disassemble the parts according to the manufacturer’s instructions. Set aside any filters as they often require a different cleaning approach.
With everything prepared and a clear understanding of how to clean a humidifier, you’re ready to move on to the next steps: safety measures, the detailed cleaning process, and maintenance advice. By preparing properly, you’ll ensure a smooth and effective cleaning routine.
Safety Measures for Humidifier Maintenance
Before you begin learning how to clean a humidifier, it’s vital to consider safety. Proper safety precautions protect you and ensure the cleaning process goes smoothly. Here’s what to keep in mind:
- Unplug the Device: Always disconnect the humidifier from the power source. This prevents electrical shocks.
- Use Protective Gear: If you’re using cleaning agents or vinegar, wear gloves. This protects your skin from irritation.
- Avoid Mixing Chemicals: Do not mix different cleaning solutions. They could react and release harmful fumes.
- Ventilation is Key: Work in a well-ventilated area to avoid inhaling fumes from cleaners or vinegar.
- Carefully Handle Water: When emptying the tank, do so slowly to prevent spills that could lead to slips.
- Keep Parts Organized: As you disassemble your humidifier, keep parts in order. This helps avoid losing any pieces.
- Check Electrical Cords: Inspect for any damage to cords or plugs before cleaning. Never use a damaged humidifier.
By adhering to these safety tips during humidifier maintenance, you’re not just learning how to clean a humidifier but also how to do it securely. Next, we’ll cover the detailed cleaning process to ensure your humidifier operates at its best.
Detailed Cleaning Process
Once you have taken safety precautions, you are ready to begin the actual cleaning of your humidifier. Follow these steps to ensure thorough cleaning and prevent any damage to your humidifier. Keep in mind to use simple, non-abrasive materials and gentle cleaning agents such as white vinegar for a safe and effective cleaning process.
- Empty the Water Tank: Start by pouring out any old water from the unit’s tank. This prevents contamination with fresh water during the cleaning.
- Apply Cleaning Solution: Fill the tank with a mixture of water and white vinegar. The ratio should be equal parts of each. Let this solution sit for at least 30 minutes to loosen mineral deposits.
- Clean the Base and Tank: After the solution has sat, use a soft brush or cloth to scrub the tank and base. Gently remove any mineral scale or buildup. Pay special attention to nooks and crevices where mold and bacteria may hide.
- Rinse Thoroughly: Once you have scrubbed the humidifier, rinse each part well with clean water. Make sure no vinegar or cleaning solution remains, as this could be harmful when the unit is used next.
- Wipe the Exterior: Use a damp cloth to wipe down the outside of the humidifier. Keep the cloth clean to avoid transferring dirt back onto the device.
- Dry Completely: After rinsing, lay out all parts to air dry on a clean towel. Ensure all components are fully dry before reassembling to prevent mold growth.
Remember, using harsh chemicals or rough materials can damage your humidifier. Stick to gentle cleansers like white vinegar and ensure each step is performed carefully to maintain your unit in top condition. Once the cleaning process is complete, move on to descaling and disinfecting, replacing filters, and keeping your humidifier at peak performance with proper storage and regular maintenance. By knowing how to clean a humidifier effectively, you’re helping to ensure its longevity and the health of your indoor environment.
Descale and Disinfect: Tackling Mineral Buildup
The fight against mineral buildup is a key part of knowing how to clean a humidifier. Over time, water leaves behind minerals that form tough scales, affecting the performance of your humidifier. Tackle this by descaling and disinfecting the unit regularly.
To descale your humidifier, follow these simple steps:
- Prepare a descaling solution: Mix equal parts of white vinegar and water or use a manufacturer-recommended descaler.
- Soak the parts: Submerge the tank and other affected parts in the solution. Let them sit for at least 30 minutes.
- Scrub away scale: Use a brush to gently scrape off the mineral deposits.
- Rinse well: Ensure no vinegar or descaler is left after rinsing with clean water.
For disinfecting, a similar process kills germs:
- Mix a sanitizing solution: Combine a teaspoon of bleach with a gallon of water. Use gloves to protect your hands.
- Wipe down interior surfaces: With a cloth soaked in the sanitizing solution, clean the inside of the tank and base.
- Rinse again: Wash all parts thoroughly with water to remove any bleach residue.
- Air dry completely: Leave all components to dry in a well-ventilated space.
Combining descaling with disinfection ensures a clean, safe humidifier that works efficiently. Mineral buildup and germs can no longer compromise your device and air quality. Stick to a schedule, descaling and disinfecting every few weeks, or more often in areas with hard water. Doing so keeps your humidifier in good shape and enhances indoor air for everyone.
Filter Replacement and Maintenance
Maintaining and replacing filters is crucial in humidifier care. Over time, filters trap contaminants, reducing effectiveness and potentially releasing impurities back into the air.
To replace and maintain your humidifier’s filter, follow these easy steps:
- Check Filter Regularly: Inspect the filter monthly. Look for discoloration or odors.
- Remove and Rinse: If reusable, take out the filter and gently rinse with cool water. Avoid using chemicals.
- Allow to Dry: Let the filter air dry completely before putting it back in place.
- Replace if Necessary: If the filter shows significant wear or damage, replace it with a new one.
- Refer to Manual: Follow the manufacturer’s guidance on filter care and replacement timing.
A fresh filter improves air quality and humidifier function. It also prevents the machine from working too hard, which could lead to breakdowns. Remember, some models might use wick filters that need frequent changes, while others have longer-lasting types. Always have spare filters on hand to ensure continuous operation.
By regularly maintaining and replacing filters, you guard against bacteria and mold buildup. Your efforts will extend your humidifier’s life and enhance the air you breathe. Next, we will discuss reassembling your humidifier and tips for effective storage.
Reassembling and Storage Tips
Once your humidifier parts are clean, dry, and well-maintained, it’s time to put it back together. Here’s a simple guide for reassembling and storing your humidifier to ensure its longevity and performance:
- Reassemble with Care: Start by attaching the dry filter. Follow with the tank, base, and other components. Consult your manual if you’re unsure.
- Check Seals and Connections: Make sure all parts fit snugly. Tight seals prevent leaks when the humidifier is back in use.
- Test the Humidifier: After reassembling, fill with water and plug it in. Check for proper operation before you store it away.
For storage, follow these steps to protect your humidifier from damage when not in use:
- Empty Water Completely: Never store your humidifier with water inside. This prevents mold and bacteria growth.
- Clean Exterior Before Storing: Wipe the outside of the unit with a soft cloth to remove any dust or residue.
- Choose a Safe Storage Area: Store your humidifier in a dry location. A closet shelf or cabinet is ideal to avoid accidental damage.
- Cover to Protect: Use a breathable cloth to cover the humidifier. It keeps dust away while ensuring air circulation.
- Avoid Direct Sunlight: Direct exposure to sunlight can wear out the materials. Pick a shaded spot to maintain the unit’s condition.
By reassembling your humidifier correctly and choosing the right storage conditions, you help maintain its efficiency. Regular checks, even when not in use, keep it ready for the next time you need it. Always refer to how to clean a humidifier to ensure proper care and maintenance steps.
Maintaining Optimal Humidifier Performance
To keep your humidifier performing well, follow a routine maintenance plan. This will help ensure the air in your home remains healthy. Here are essential tips to maintain optimal performance:
- Regular Cleaning Schedule: Commit to a weekly cleaning routine. This prevents buildup and maintains efficiency.
- Monitor Water Quality: Use distilled or demineralized water to reduce mineral deposits. This is easier on your machine.
- Check Performance Regularly: Listen for unusual noises or look for signs of weak mist output. These could signal a need for maintenance.
- Seasonal Storage Care: When not in use, store your humidifier properly. Clean and dry it beforehand to avoid issues when you start it up again.
- Stay Alert to Smells: Musty odors can indicate mold or bacteria. Clean your humidifier if you notice such smells.
- Follow Manufacturer’s Instructions: Always refer to the user manual for specific maintenance guidance tailored to your model.
By sticking to these key maintenance actions, you’ll help extend the life of your humidifier. It will also continue to improve the air quality in your space. Good care keeps your device running smoothly and your home comfortable.